
A Simple Guide for Laying Turf
Laying turf is one of the quickest ways to transform a tired or patchy garden and the good news is, it’s not as hard as you might think. With a bit of planning and some basic tools, you can enjoy a fresh new lawn in just a few days.
In this guide, we’ll walk you through everything you need to know – from when to lay turf and what materials you’ll need, to the key steps involved in preparing the ground, laying the turf, and helping it establish strong roots.
Whether you’re starting from scratch or replacing old grass, the process is straightforward and definitely worth the effort.
When Is the Best Time to Lay Turf in the UK?
The ideal time to lay turf in the UK is mid-autumn to early spring, typically from September through to April. During these cooler months, the soil is still warm enough to encourage root growth, but there’s less risk of the turf drying out – meaning less watering and a lower chance of stress.
Autumn (September–November) is often considered the best time overall:
- The soil is warm from summer.
- Rainfall is more regular, helping keep the turf moist.
- You’ll need to water less frequently.
- The lawn has plenty of time to establish before it faces heavy use in spring or summer.
Spring (March–April) is also a great time:
- Turf establishes quickly as temperatures rise.
- You may need to water more often if it’s dry.
Avoid summer if possible, as high temperatures and dry spells make it harder to keep the turf hydrated and healthy. Turf can still be laid in summer if needed, but it requires more watering and care to stop it from drying out or shrinking.
What You’ll Need and How Long It Takes
How Long Will It Take?
For a typical-sized garden lawn (around 50–100 square metres), laying turf is usually a 1–2 day job, depending on your preparation and how many people are helping. If the ground is already cleared and levelled, you could lay the turf in a day and spend the next few days focusing on watering and aftercare.
What You’ll Need
Here’s a quick checklist of tools and materials to get the job done:
🧰 Tools & Equipment
- Garden fork or rotavator (to loosen soil)
- Rake (for levelling)
- Wheelbarrow (for moving soil or compost)
- Sharp knife or edging tool (for cutting turf)
- Wooden planks (to kneel or walk on without damaging turf)
- Hose or watering can (for soaking the turf)
- Lawn roller or tamper (optional – helps firm turf in place)
🌱 Materials
- Fresh turf (ordered based on your lawn’s measurements)
- General-purpose lawn fertiliser
- Topsoil or compost (optional, for poor-quality soil)
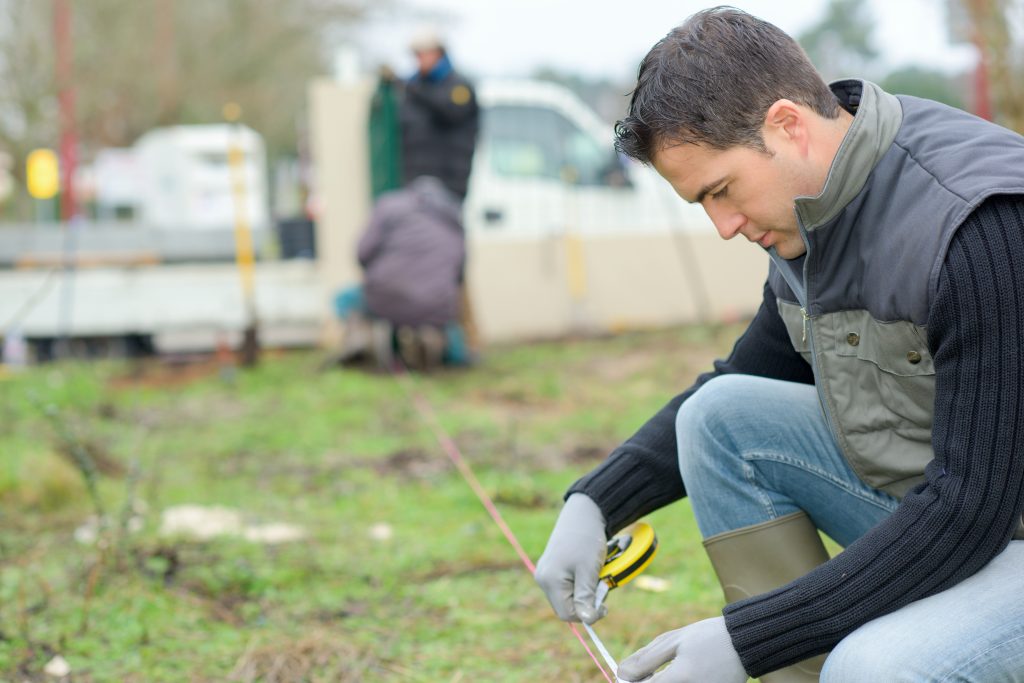
Preparing the Soil
Getting the ground right is one of the most important steps when laying turf. Good soil preparation helps the turf root quickly and ensures a healthy lawn that lasts.
1. Clear the Area
Start by removing any existing grass, weeds, stones, or debris. Use a spade, hoe, or turf cutter for larger areas. It’s worth taking the time to do this thoroughly – leftover roots or rubble can cause problems later.
2. Loosen the Soil
Use a garden fork or rotavator to dig down to a depth of about 15–20cm (6–8 inches). This helps break up compacted soil, improves drainage, and makes it easier for new roots to spread.
3. Improve the Soil
If your soil is very sandy or heavy clay, mix in some well-rotted compost or soil conditioner to improve structure and water retention. This gives your turf the best possible start.
4. Level and Firm the Ground
Rake the surface until it’s level, breaking up lumps and filling in dips. Then lightly firm the soil by walking over it on your heels or using a roller. Repeat the raking and firming process until the surface is even and stable.
5. Apply Fertiliser
Sprinkle a pre-turfing fertiliser evenly over the surface. This gives the turf essential nutrients to help it root and grow quickly. Lightly rake it into the top layer of soil.
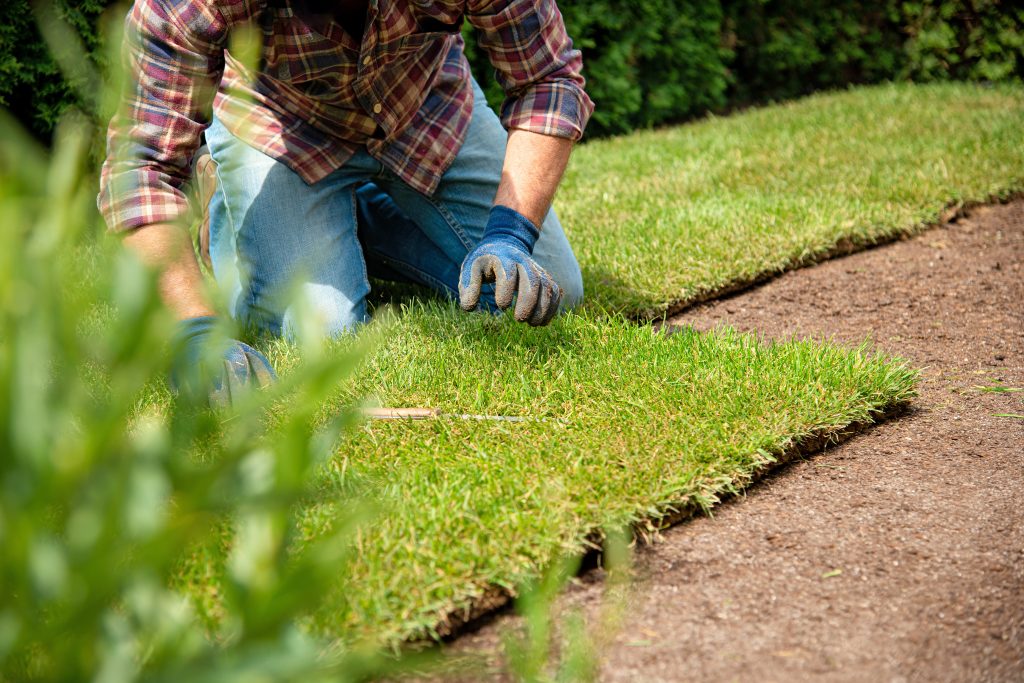
Laying the New Turf
Once your soil is prepared, it’s time for the satisfying part – laying the turf! Follow these steps for a smooth, even lawn:
1. Start Along a Straight Edge
Begin at a straight edge like a path or fence line. Unroll the first strip of turf carefully, making sure it sits snugly against the edge without stretching or overlapping.
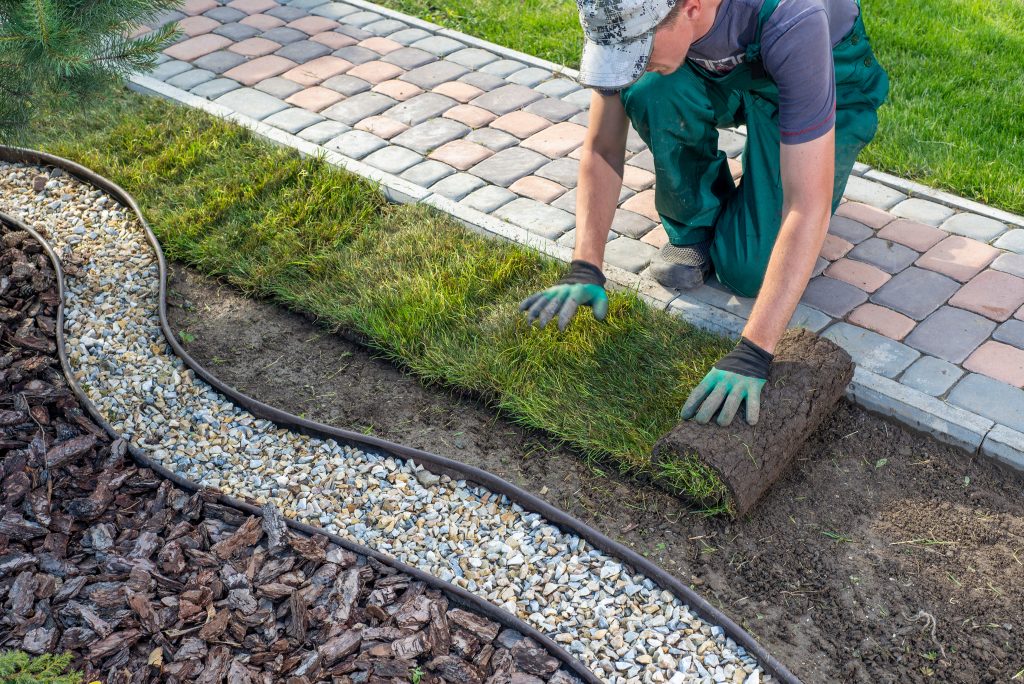
2. Stagger the Joints
Lay the next row in a staggered pattern, like brickwork. This helps avoid visible seams and gives the lawn a more natural, seamless look.
3. Butt the Edges Together
Push each piece of turf tightly against the next, with no gaps or overlapping. Gaps can dry out and lead to uneven growth. Avoid stretching the turf to make it fit – if needed, trim it with a sharp knife.
4. Use Planks to Work From
To avoid damaging freshly laid turf, place wooden planks or boards on top and stand or kneel on them as you move along. This spreads your weight and keeps the turf firmly in place.
5. Cut to Fit
Use a sharp knife or half-moon edging tool to neatly trim around curves, edges, or obstacles like flower beds and paths.
6. Firm It Down
Once all turf is laid, gently press it down with a roller or by walking on a plank across the surface. This helps remove air pockets and ensures good contact with the soil below.
Watering and Aftercare

Once your turf is down, it needs a bit of TLC to settle in and grow strong roots. Good aftercare in the first few weeks makes all the difference.
1. Water Immediately
As soon as you’ve finished laying the turf, give it a thorough soak. Water deeply so the moisture reaches the soil underneath – this helps the roots start to establish.
2. Keep It Moist
For the first 2–3 weeks, keep the turf consistently moist. Water daily (or more often in hot or windy weather) to prevent it from drying out. If the turf turns pale or starts shrinking at the edges, it likely needs more water.
💧 Tip: Water in the early morning or evening to reduce evaporation.
3. Avoid Walking on It
Try to keep off the turf while it’s rooting – usually for the first 2–3 weeks. If you need to walk on it, use a wooden plank to spread your weight.
4. First Mow
Once the grass reaches about 5–7cm (2–3 inches) and is firmly rooted, it’s ready for its first cut. Set your mower to a high setting and only trim the top. Gradually lower the blade height over the next few mows.
5. Feed and Maintain
After about 4–6 weeks, apply a lawn feed to support healthy growth. Then follow a regular mowing and feeding schedule to keep your new lawn looking lush and green.
That’s It – You’re Done!
And that’s it – you’ve now got all the know-how to lay turf and give it the best start. With a bit of prep, some careful laying, and a few weeks of watering and care, you’ll be enjoying a healthy, green lawn in no time. Whether you’re refreshing your garden or starting from scratch, it’s a job well worth doing – and one that pays off every time you step outside.